
|
|||||||||||||||||||||||||||||||||||||
 |
|||||||||||||||||||||||||||||||||||||
Woody
... will probabely always be "under construction", but if you want to read it's entire story, just go ahead and read on:
2015.02.14
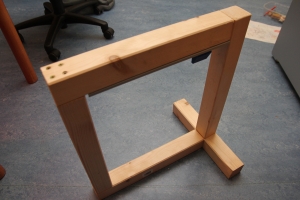
In the beginning, there was a wooden frame.
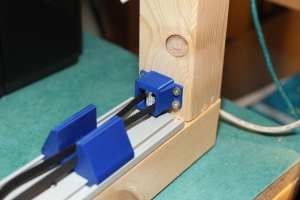
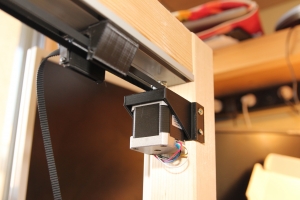
The first thing I did was to design the X-axis:
2015.02.15
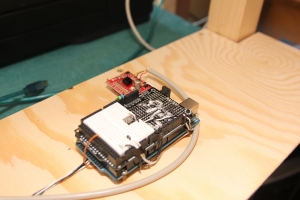
As controller I use an Arduino Mega 2560, running as firmware Repetier 0.92. I had some problems getting the firmeware up an running, but finally I found the correct pins to use, so the steppers started to move.
2015.02.16
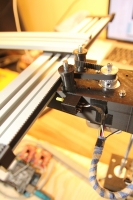
I first tried to recycle a piece from my plotter project (which I disassembled), but that was not that optimal, so I designed a new piece for fixing the Z-axis motor.
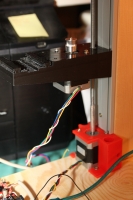
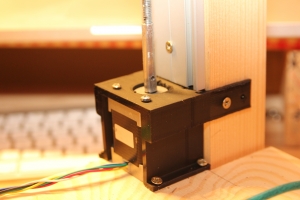
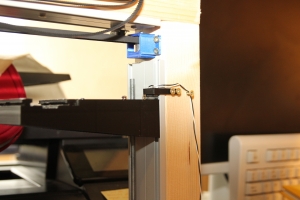
Important: the limiter switches which make shure that the table is not going to far. All axes have two of these switches.
2015.02.17
Next I had to build the support for the table. The rails used here, as well as for all the other axes, are simple curtain rails I baught in a local store. Shure, they are not that solid as industrial proofed rails, but they are less expensive too!
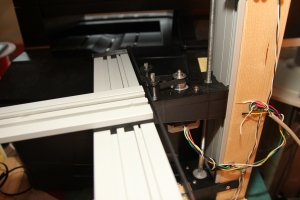
Preparing the table:
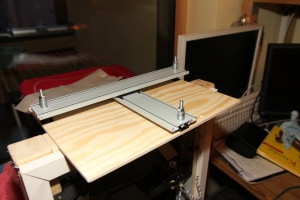
2015.02.18
The table is fixed. Unfortunately I burned the third motor driver, so I can't test it for now and have to wait for the delivery man to ring ...
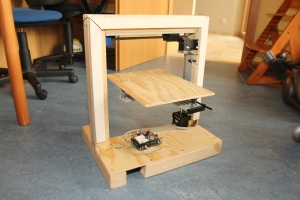
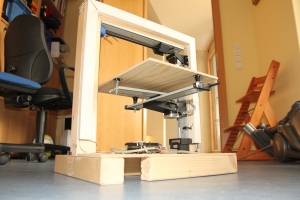
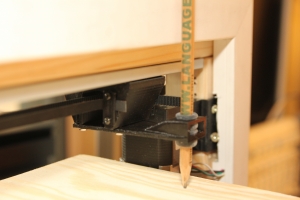
Next I had to design a first tool, which was, for simplicify a simple pen holder.
2015.02.19
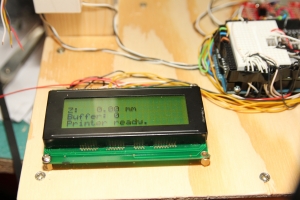
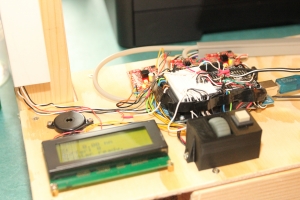
As a noticed that the fireware was able to drive a controller (LCD + buttons) and as I had a spare one laying around, I thought it would be nice to give it a try.
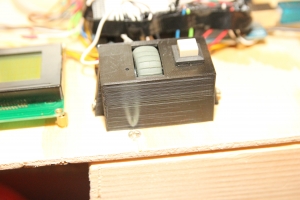
The third stepper motor driver arrived and I was finally able to connect the Y-axis to do my first drawing. The left picture show the first layer of a srewing tool I designed to level the bed of woody and the second one a first shot I realized using FlatCAM.
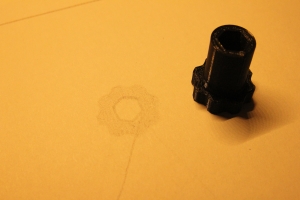
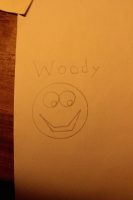
I noticed that the moving bed is not as solid as I hoped it to be. It woobles depending on the state of the Y-axes. Also the T-segment, which the bed lays on, got deformed because of the springs pushing the bed upwards. There is a lot of room for improvements, but for now I'm proud that it produces nice drawings. My daughters will appreciate ;-)
I'm also thinking about adding another head. Maybe a small laser diode to burn things?
2015.02.20
I've made a bigger bed so that it now fits an A4 sheet. I'm also printing a new arm for the Z-axe, but first of all, some action please:
Beside the new bed fixation, which is now much larger an thus eliminates a lot of the previous wobbeling, I've replaced the strings with some other model wich are not so strong.
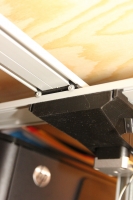
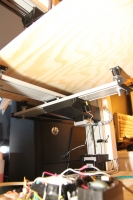
Using a felt pen, thus something with a softer tip, the drawings are getting much nicer. I also noticed that the new bed fixation increase the overall precision of the plotter.
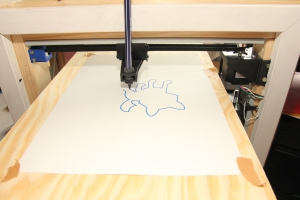
2015.02.21
I've ordered a E3D bowden hotend and an MK8 geardrive, both for 1.75mm filament. My Felix is right now printing the extruder pieces while I'm recycling an NEMA17 stepper from an old printer.
2015.02.22
I just realized that due to the fact that I enlarged the bed rail, the Y movement is reduced. I remesured the real distance the head could move along the Y-axes and came up with 200mm, so the 2D drawing area is actually 220x200mm. To get a larger drawing area, I would have to either shorten the Y rail again an redesign it to get rid of the wobbeling or enlarge the rail (would have to buy a new one, because the ramaining piece I have is far too short).
I came back to first, smaller, version of my bed fixation arm took away 0.5mm to tighten it up, hoping to eliminat that way the wobbeling an winning some distance on the Y axe. Probabely I will print it tomorrow ...
2015.02.24
I've printed the new bed fixation yesterday and replaced the old one this morning. The wobbeling has gone and I gained 52mm, which now gives me a drawing area of arround 220x200mm.
2015.03.02
The ball-bearing for the bowden extruder direct drive arrived yesterday and today I finally managed to get the motor running without having to connect the extruder itself (which has not yet arrived). The trick is to send the G-command "M302 S1" to the printer, which allows to do cold extrusion.
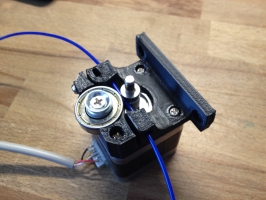
2015.03.26
My extruder arrived yesterday, so I continued working on making a real 3D printer out of Woody. Unfortunately the local electronic shop did not have the required MOSFET transistor to drive the heater and the fan nor was the vendor competent enough to propose me an equivalent alternative. I ended up in buying some on eBay.
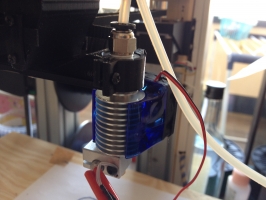
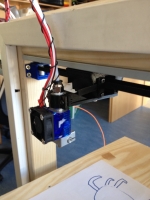
Now that the extruder is mounted, Woody looks real great. But there is some more work todo:
- Set up the circuit for the heater and the fan,
- connect another fan that cools down the printed PLA,
- switch the actual 12V power supply (3,33A) with a stronger one.
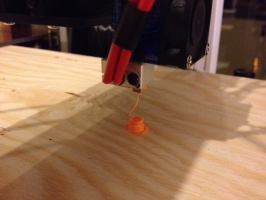
I found another MOSFET in one of my "a lot of things" boxes that fits, so I was able to try the extruder immediately. I connected a PC PSU delivering 21A on the 12V rail, but as the heater the printer only needs 2A if the heater is at 100%, I got back to the 3,33A PSU. I also connected the fann directely to the 12V, so it simply stays always on. Using the PWN driver cricuit, it made a strange noise ...
2015.03.27
After having discarded a Y-shift, I was finally able to print a first more complex objet. Ohhh ... yes, I did the print on the non heated wood bed and it sticks very well to it.
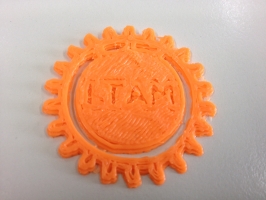
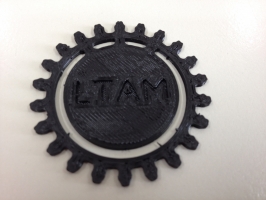
The orange one has been printed on Woody (0,4mm nozzle) with 250 microns and the black one on my Felix 3.0 with 200 microns. The differences are quite good visible, but for a first shot I'm very pleased about Woody's result.
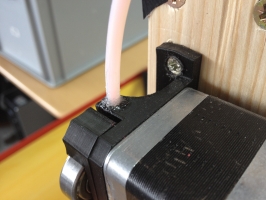
I hove to find a way to fix the teflon tube on the extruder stepper, because holding if down with a nipper all the time during the print is not that convinient. After scratching the tube on one end, I finally was able to applicate some glue which now also sticks to it.
2015.03.28
Today I tried printing PLA on a non heated glas I upcycled from an old scanner. This works fine, but the Y axe of the printer got somewhat instable because of the higher weight of the glass, so I have now to find a way to fix this issue. Putting some oil on the rail did the opposite of what I thought so I tried it with some graphite, but the result is not that much better.
To get rid of the wobbeling I tried to build a frame around the printer in order to limit the movement of the bed. I workd, but again, augmented the resistance of the Y-axe and thus had as consequence that the movement was no more smoth, resulting in glitches in the prints.
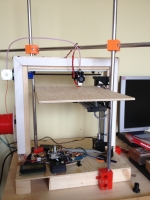
I think I have to redesign the Y axe in order to make it stronger and to get out the wobbeling when it does quick moves, so this will not be the my last entry ...
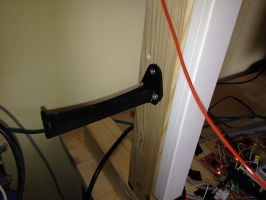
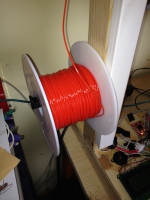
I've also printed an arm to hold the filament roll. It is bascially a copy of the original Felix pieces with holes for the screws.
2015.03.29
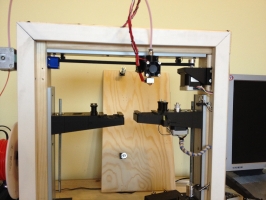
I just ordered to additional stepper motors with drivers in oder to duplicate the Z & Y axe, hoping to get this way a strong a less wobbeling Y movement. So let's prepare Woody for the modifications:
2015.03.30
While waiting for the new parts to arrived, I've setup the new bed.
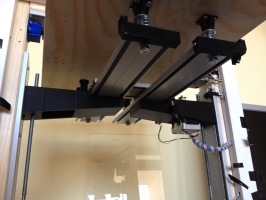
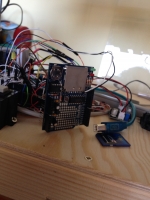
Unfortunately my first attempt to connect an SD-reader failed :-(
2015.04.01
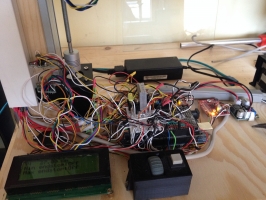
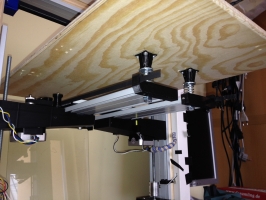
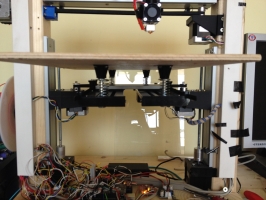
The new parts arrived, so I finally can put everthing together. I baught some other drivers, with the same chip, but smaller. They only cost half of the price of the others but do the same job. Of couse the two new motors are causing a lot more cable to go to the board.
2015.04.02
Woody now prints smoother, but the Y-axe is still not working 100% as expected. I will have to do some more tweaking.
2015.04.13
After adjusting the power settings of the Z-axe, both motors finally are perfectly synchronized and thus my testing cyclinder prints exactely the way it should.
2015.05.07
I should have applied much early some grease to the different mechanical parts. Lowerering the friction improves the overall performance of the prints dramatically and reduces the noise of the printer too.
2015.12.30
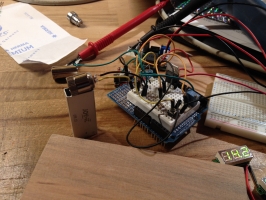
Today I've started to investigate again on building a burning laser diode out of the modules extracted from some old DVD burner. I finally succeeded in controlling the diode and focussing the beam in order to burn some blakc plastic, a piece of wood and even light up a match!
2015.12.31
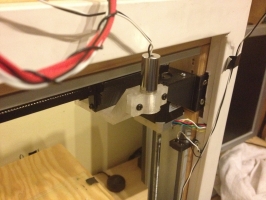
After having build the burning laser diode module, I had to create a new head for the printer:
2016.01.01
I struggled a lot with precision and ended building an on/off circuit for the laser as well as modifying the firmeware in order to support the M3 (on) an M5 (off) codes. Next I had to write a little script that modifies a given GCode file in order to remove the Z movements and add the corresponding on- and off-codes to the G-blocs.
In the video above, Woody is burning a little cute turtle ;-)
