
|
|||||||||||||||||||||||||||||||
 |
|||||||||||||||||||||||||||||||
Howto generate Laser cutter GCode
For this I use two tools:
First of all, let's draw something nice in Inkscape. As christmas is approaching, I've chosen to draw a star with a hole in the middle.

Make shure to transform all objects into a path, otherwise they will not be processed.

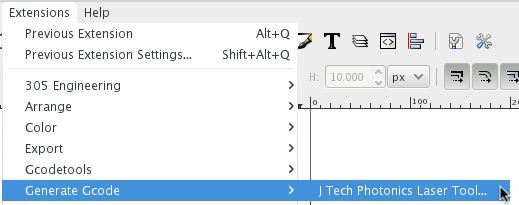
Next we can launch the code generation.
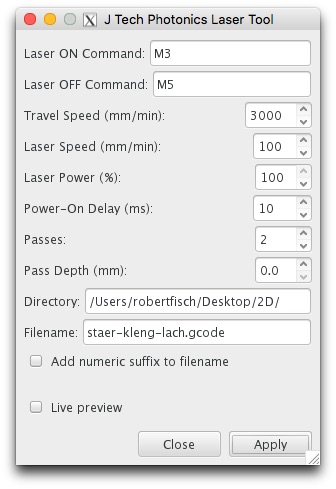
The configuration window allows to change different settings:
- First of all we can define what codes are being used by our machine to switch on/off the laser.
- Next we can tell it how fast we want it to travel when the lase is off.
- The next settings allows us to chose the cutter's speed when lasering.
- For those who have bigger lasers, we can select the laser power as well ass the power-on delay. That's the time the cutter waits when powering the lase on until it starts moving.
- For white paper, you'll need a value around 300ms.
- The lighter the surface is, the bigger this value has to be.
- The settings "passes" allows to select how many times the laser will pass over the drawing. For my "Mini" cutter, two passes are enough to cut paper.
- In case ou machine has a moving Z-axis, we can tell it how far to move with each pass.
- The next few fields are quite self explaining ;-)
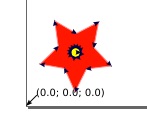
When hitting "Apply", the file containing the GCode will be generated. You then need to hit the "Close" button. Your drawing will be overlaid by some a new layer which indicates the movement of the cutter head. After having generated the file, you can delete this layer again, because you probably will not need it anymore.
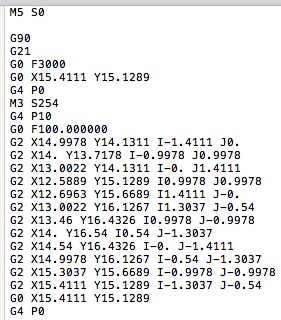
The generated GCode file will look like this (only the head of the file is shown here ...):
And here is the result:

